With the influx of millennials buying collectibles & vintage items LP vinyl records are making a quick come back. People are choosing vinyl records for their classic oldie music and sound, and consumers are dying to get their hands on something tangible in our digital age. Either way, it’s a hot item for buying and selling so if your selling & sending these puppies out or just mailing one to your grandkid, take a look at these steps on how to properly pack this precious package. #knowyourpackaging
Step 1 – The Box.

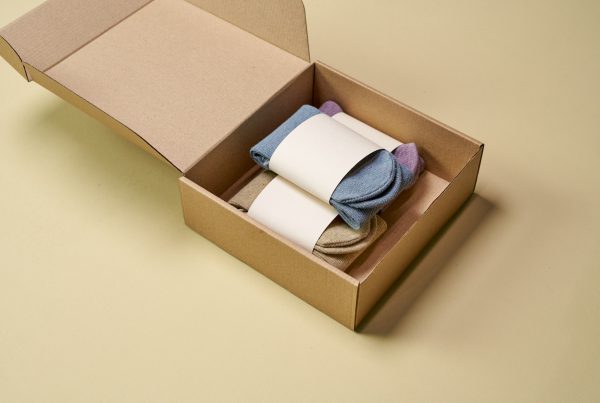
The box you want to send these in is actually called a mailer, which is usually made to fold in someway and can be slightly thinner than a standard box. The main difference is that a mailer is usually designated for mailing a specific item, in our case it’s your vinyl. The mailers are called LP Record mailers or just Record Mailers. It doesn’t need to have that name as long as the sizing of mailer is accurate you are good to go. We will address that in the next step. You can get them in Kraft or White.
Step 2 – The Size

Most vinyls are 10 inch in diameter or 12 inch, the mailer you use should be bigger than 12 inches. We use 12.5×12.5×1 so you”ll have enough room to get some packaging protection in there.
Keep in mind to get the mailers with variable depth (all of our LP record Mailers come with it) that comes in handy if you want to add extra protection or send more than one record in your mailer.
Keep in mind to get the mailers with variable depth (all of our LP record Mailers come with it) that comes in handy if you want to add extra protection or send more than one record in your mailer.
Step 3 – The Packing
- Lay your box flat with the kraft on the inside facing you, and white as the exterior.
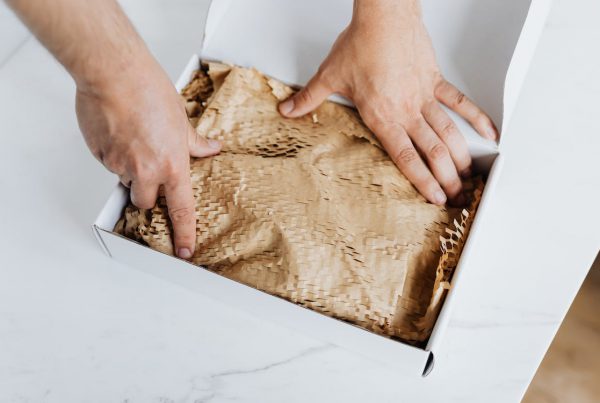
- For extra protection place a 12.5″ corrugated sheet on the bottom as a stiffener.
- Place your vinyl case on top of that and then the record itself. (For a vintage record the casing may get damaged in the shipping process if the record itself is inside it during mailing. Place them next to each other as not to damage the vintage casing.
- Put a corrugated sheet on top (tape them together for extra security and firmness
- Fold the two smaller ends of the mailer – the horizontal ones as shown.
- Fold the two larger vertical ends of the mailer over the horizontal smaller folds – if you’re using the half inch setting of the variable depth box, one flap will be overlapping the other – if you’re using the full inch, it will fit flush.
- Tape Tape Tape and you are ready to ship!

Visual Step by Step.
 |
|||||||||
|


Notes:
1.Before you put anything in, prefold the mailer to the size you want for easier packing
2. You can tape the corrugated sheets together for extra firmness
3. You can use a few layers of newsprint as an inferior alternative to corrugated sheets.
4. Use fragile stickers or write on the box, fragile or do not bend or crush
2. You can tape the corrugated sheets together for extra firmness
3. You can use a few layers of newsprint as an inferior alternative to corrugated sheets.
4. Use fragile stickers or write on the box, fragile or do not bend or crush

We hope you enjoyed, Get Packing!
Recent Comments