
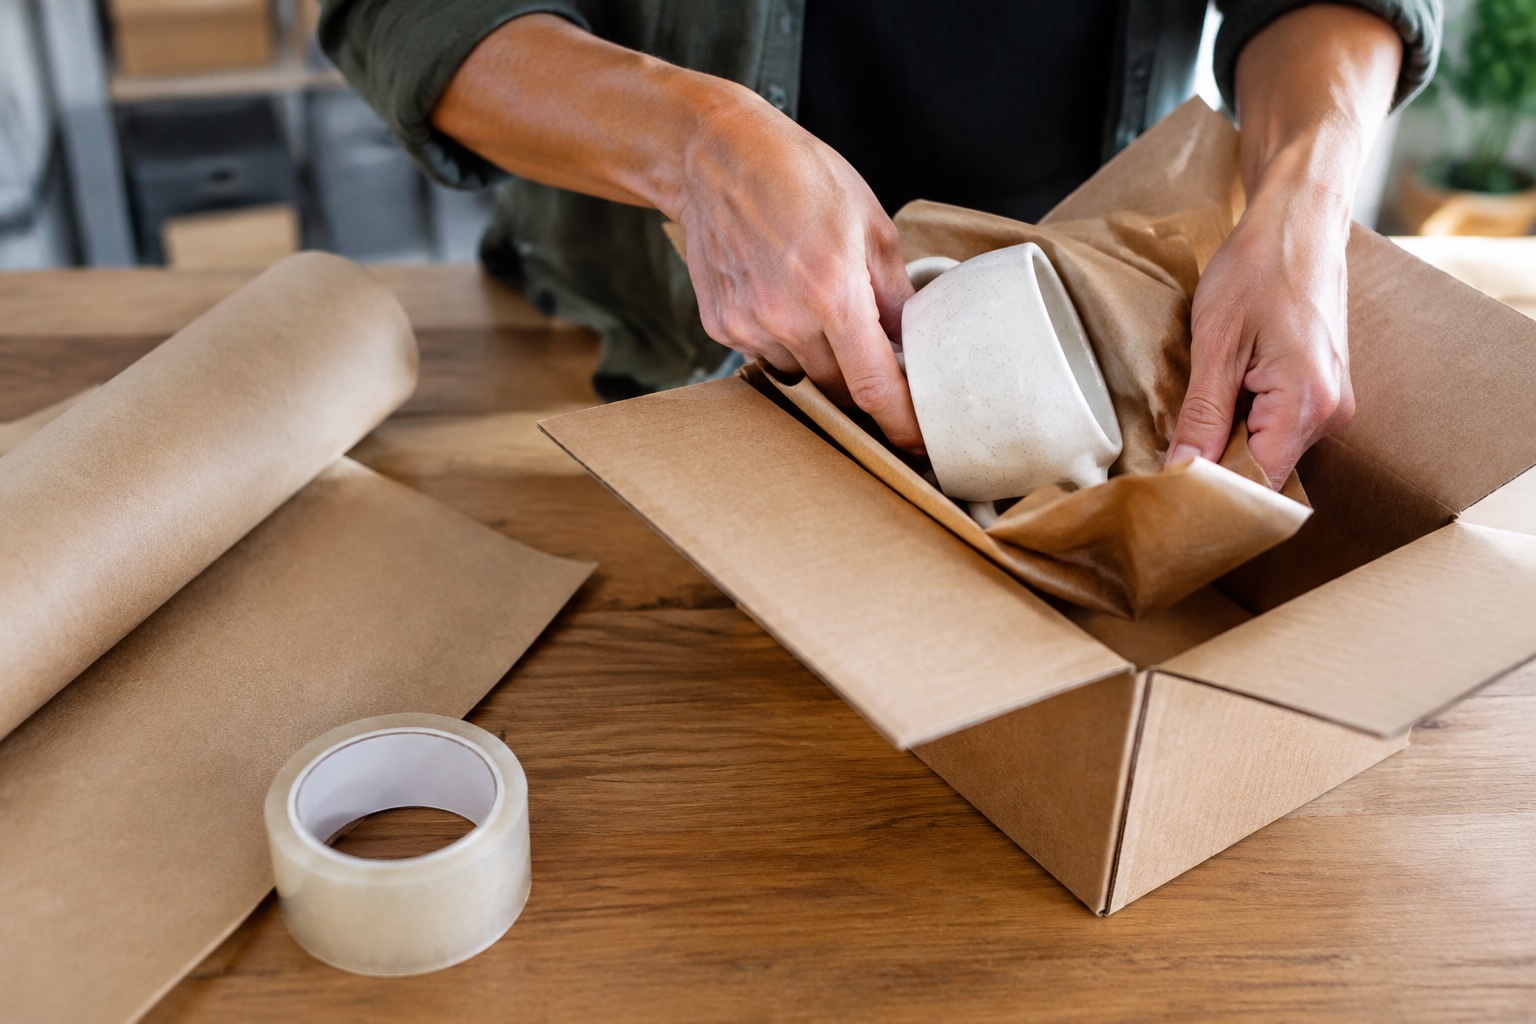
What You’ll Need
Three materials. A few basic tools. About 15 minutes per package once you’ve done it a couple of times.
- Corrugated shipping box: One box that leaves roughly 2 inches of space on every side of your wrapped item. Use a 32 ECT single-wall box for items under about 65 lbs. Go double-wall for anything heavy or dense.
- Bubble wrap: A roll or pre-cut sheets. Small bubble (3/16″) suits glass, jewelry, and ceramics. Large bubble (1/2″) suits heavier pieces.
- Packing tape: Clear 2-inch hot melt tape works for most boxes. You’ll want enough for three strips on the bottom and three on top.
- Scissors or a box cutter: For trimming the bubble wrap cleanly.
- Tape measure: To check your item and the inside box dimensions before you pack.
- Scale: A kitchen or postal scale for the final weight, so you can price the label correctly.
- Flat work surface: A table or garage workbench with room to lay the box open.
Skill level: Beginner. If you can wrap a gift, you can do this.
Before you start: Measure your item at its longest, widest, and tallest points. Write the numbers down. Picking the box without them is how sellers end up paying for empty air.
A cracked ceramic mug costs you more than the mug. It costs the refund, the return label, the replacement, and a one-star review that sits on your listing for years. Most of that grief starts with a badly packed shipping box.
Here’s what 20 years on a packing line taught me: you don’t need a pile of gear to get a fragile item across the country in one piece. Three materials do the job. A properly sized corrugated box, bubble wrap, and decent tape. That’s it.
But the details matter, and they’re where most home-based Etsy, eBay, and Shopify sellers slip up. Wrong box strength. Too much empty space. Tape that lets go at the seam. Each one is easy to fix once you know what to look for (and none of them require spending more than you already do).
So grab the item, a box cutter, and a tape gun. You’ll be done in about ten minutes.
What You’ll Get Done and What You Need Before You Start
A potter in a garage packs a glazed mug in a box twice its size, tosses in a handful of crumpled receipts, and tapes it shut. Two days later, the buyer opens a bag of shards. Sound familiar? That one broken order costs the sale, the postage both ways, and probably a review.
By the end of this guide, a fragile item will sit in a box so it survives a drop from waist height. Three materials. No foam inserts, no peanuts, no special tools.
The Three Materials: Corrugated Shipping Box, Bubble Wrap, and Packing Tape
- Corrugated box: Pick a single-wall, 32 ECT shipping box that leaves about 2 inches of room on every side of the item. Sellers who stock several mailing boxes in small and medium sizes rarely have to settle for a sloppy fit.
- Bubble wrap: Small 3/16″ bubbles hug the item. Large 1/2″ bubbles add cushion on heavier pieces.
- Packing tape: Clear 2″ tape with a strong hot melt adhesive. Skip masking tape. It lets go.
Quick Check: Is Your Item Fragile Enough to Need This Method?
Ask three questions. Does it break if it hits a hard floor? Does it have thin edges, handles, or glass? Would you cry if it arrived in pieces? One yes means use this method.
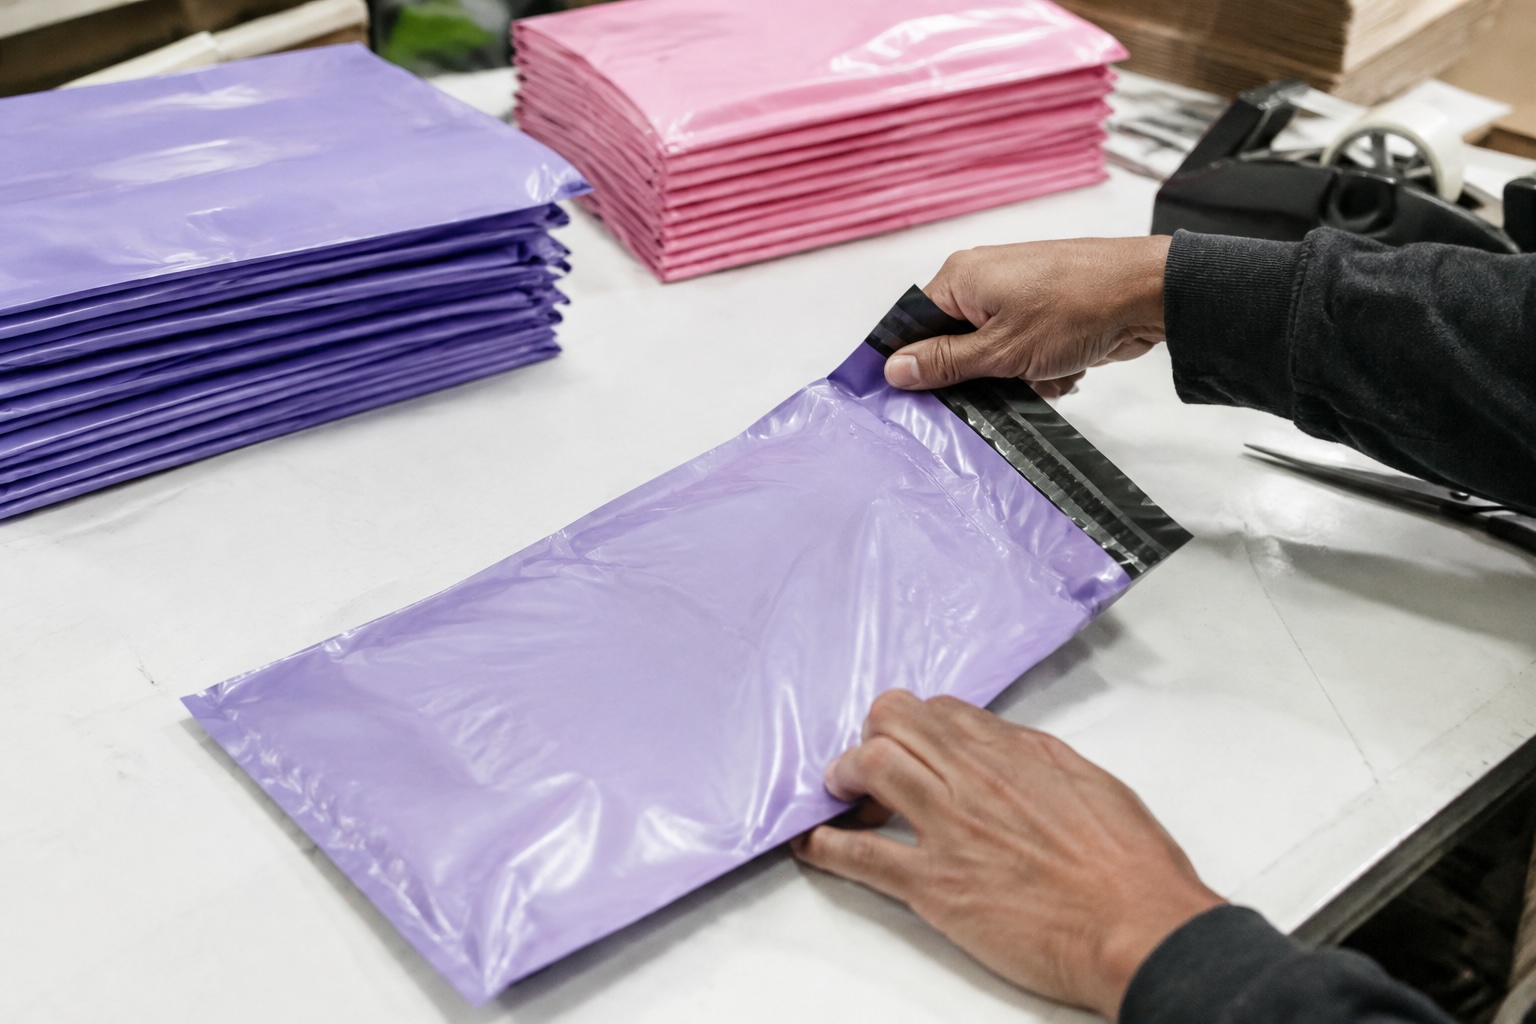
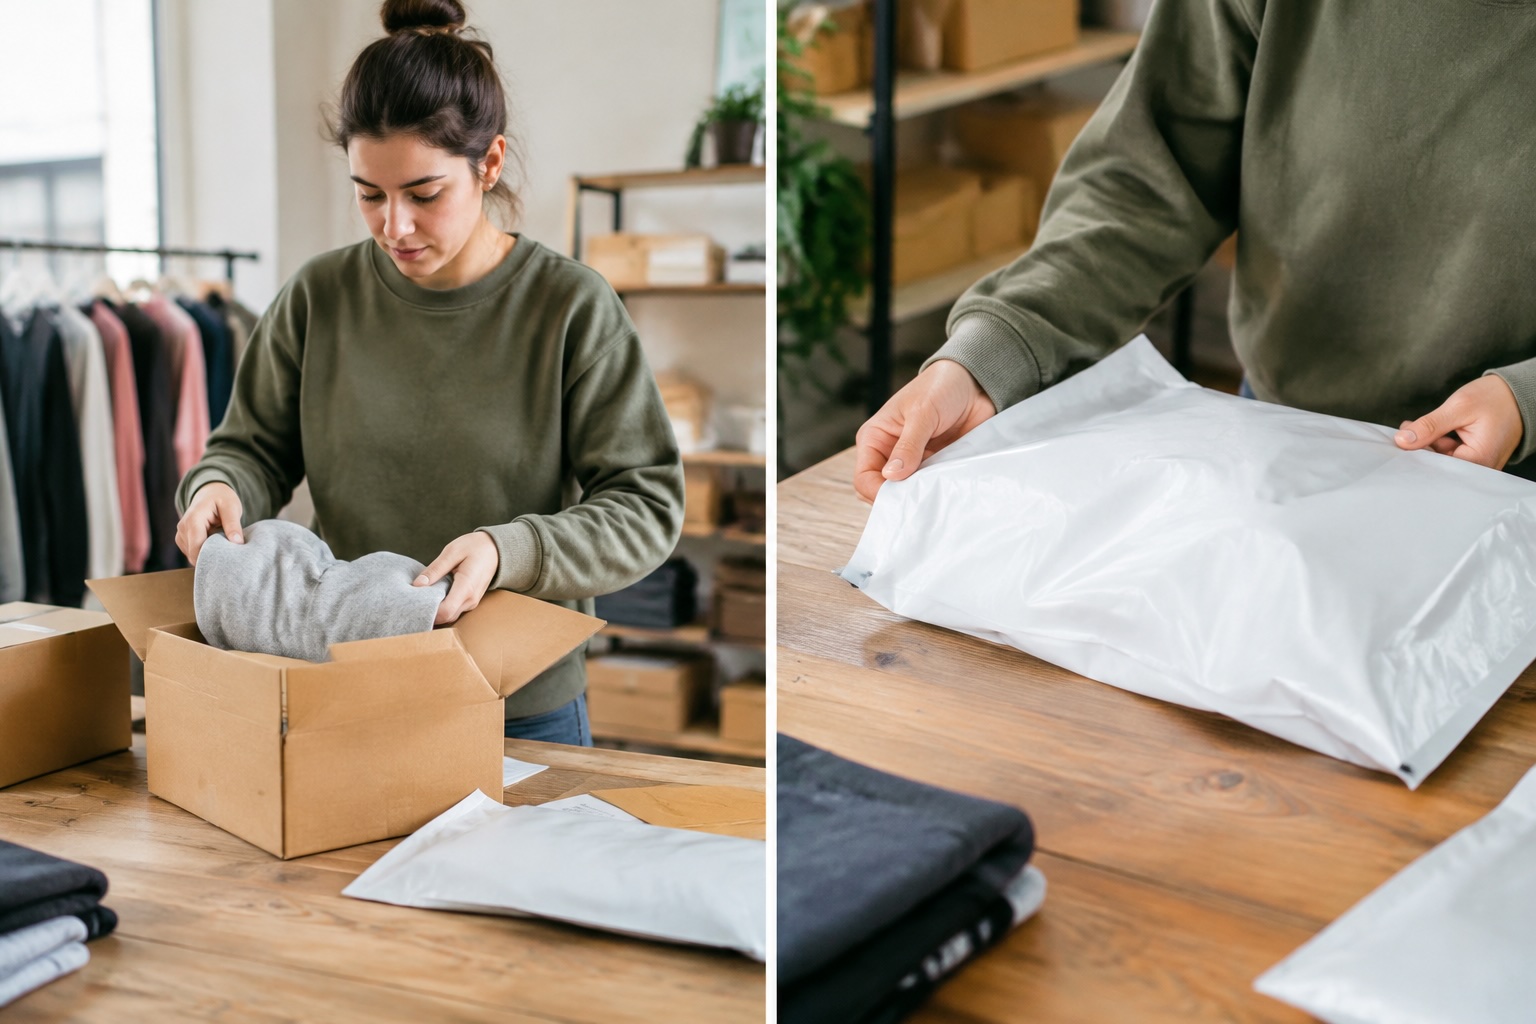
Soft goods are different. A sweater doesn’t need a box at all, and poly bags for shipping cost less and weigh next to nothing. Keep the box method for things that crack, chip, or shatter.
Step 1: Pick a Shipping Box That Leaves 2 Inches on Every Side
Too much room breaks fragile items. Pick a shipping box about 4 inches longer, wider, and taller than the item itself. That leaves 2 inches per side for foam, bubble, or kraft paper, and nothing else. If you’d rather buy shipping boxes online than hunt for scraps, measure the item first. Always measure, never eyeball it.
Match Corrugated Strength to Weight (32 ECT vs. Double-Wall)
Weight decides the wall. Here’s the rule of thumb:
- 32 ECT single-wall: fine for items up to about 65 lbs. Most mugs, candles, and glassware sets land here.
- 44 ECT double-wall: use it for 65-80 lbs, or for fragile goods headed on long trips.
Check the stamp on the bottom flap. And look up Corrugated box dimensions by inside measurements, since outside numbers run roughly a quarter inch bigger.
Why Oversized Boxes Trigger Dimensional Weight Surcharges
Carriers don’t charge for weight alone. They multiply length, width, and height, then divide by 139 or 166. A 5-lb item in a 20x20x20 carton bills as roughly 48-57 lbs. Ouch.
So what does that mean in practice? Right-size every time. A tighter carton cuts the bill and the void fill you buy. For soft or non-breakable goods, skip the box entirely and use shipping poly bags, which add almost no dimensional footprint.
Step 2: Wrap the Item in Bubble and Line the Box
How much bubble wrap does a fragile item really need?
Less than most sellers think, and more than the cheap stuff they grab at the last minute. Start with a sturdy cardboard box that leaves about 2 inches of room on every side.
How Many Layers of Bubble Wrap Different Items Need
Layers depend on weight and how easily the item breaks. Here’s the rule of thumb from two decades on shipping lines:
- Light and sturdy (candles, small ceramics): 2 layers of small-bubble wrap.
- Glass and mugs: 3 layers, with large bubble on the outside.
- Heavy or very delicate (vases, electronics): 4 layers, and wrap handles or spouts on their own first.
Bubbles face inward. Tape the wrap closed so it can’t unravel. Done.
Build a Cushion Base Before the Item Goes In
Never let a wrapped item sit on the bare bottom of the shipping box. That’s where drops hurt most.
Lay down 2 inches of crumpled kraft paper or a folded foam sheet first. Then set the item in the center, and check that nothing touches the walls. Shake the box gently. Does it rattle? Add more fill.
Picking the right size matters here, too. Corrugated box sizes run from tiny cubes to long flat cartons, so a snug fit is easy to find. A box that’s too big means extra fill, extra weight, and a dimensional weight surcharge you didn’t plan on.
Step 3: Fill the Gaps and Seal the Box with Tape
Roughly 1 in 10 fragile parcels that arrive damaged were packed in a box with too much empty room. Not a weak box. Too much space. Void fill and tape are the last two materials in this method, and skipping either one undoes the cushioning work from Step 2.
Start with the box itself. Corrugated cardboard shipping boxes hold up best when the item sits snug, with about 2 inches of padding on every side. A mug wrapped in foam, for instance, fits well in an 18 x 8 x 8 box only if the gaps are packed tight.
The H-Tape Method for Sealing Seams and Edges
Use 2-inch pressure-sensitive tape. Don’t skimp. Apply it in this order:
- Run one strip down the center seam, extending 3 inches up each side.
- Add a strip along each edge seam, so the tape forms a letter H.
- Repeat on the bottom of the box.
- Press down firmly to seat the adhesive.
Void-Fill Check: The Shake Test
Close the flaps (before taping) and shake the shipping box gently. Hear a thud or feel the item slide? Then the fill is too loose.
- Add more fill if anything shifts.
- Press on the top flaps. They shouldn’t sag or bow inward.
- Retest after adding fill, then tape.
Silent and solid means it’s ready. Ship it.
Common Mistakes, Troubleshooting, and How to Verify Your Pack Job
More padding isn’t better padding. That’s the myth behind most broken shipments. A shipping box stuffed with foam and bubble wrap still fails if the item can move even half an inch inside it.
Five Mistakes That Cause Broken Shipments
After 20 years on warehouse shipping lines, the same errors show up again and again. Here’s the short list:
- Oversized boxes. Extra air means extra shifting, plus dimensional weight surcharges. Cube corrugated boxes suit compact, roughly square items and cut the dead space.
- Skipping the two-inch rule. Fragile items need about two inches of cushion on every side. Not one. Two.
- Weak tape jobs. One strip across the seam won’t hold. Use the H-pattern on every opening.
- Reused, tired cardboard. Boxes lose edge strength after the first trip, so crushed corners mean a new carton.
- Wrong container for the product. Soft goods ride fine in Shipping bags, but glass and ceramics don’t belong in them.
Final Drop-and-Shake Check Before You Print the Label
Seal the box. Then test it. Shake it gently next to your ear, and if anything rattles, open it and add filler.
- Lift the box to waist height and set it down hard on a flat surface.
- Press each face and corner. Nothing should flex or dent.
- Tilt it on each side. The item shouldn’t slide.
Passed all three? Print the label.
How-To FAQ
How long does it take to pack a fragile item with just a box, bubble wrap, and tape?
Most fragile items take 5 to 10 minutes to pack properly. Wrapping takes the longest. Once you’ve done it a few times (and have your shipping box already assembled), you’ll move faster without cutting corners.
How many layers of bubble wrap should I use?
Use at least two full wraps around the item, and three for glass, ceramics, or anything with thin edges. Wrap until you can’t feel the hard surface when you squeeze it. Then tape the wrap closed so it can’t unravel in transit.
What if I don’t have enough bubble wrap to fill the whole box?
Wrap the item thickly and use the extra bubble as a base and top layer. Crumpled kraft paper works too, but that’s a fourth material, so you’ve left the three-material method. If you’re short, switch to a smaller shipping box. A tighter fit needs less cushioning and often costs less to ship.
Can I reuse a shipping box for fragile items?
Yes, but only if the corners are crisp and the walls haven’t softened. Check for dents, water stains, and torn flaps. Old labels should be fully covered or removed. A tired box loses a big chunk of its stacking strength, and fragile cargo is the wrong place to gamble on that.
How do I know the package is safe to ship?
Do the shake test. Close the box, hold it with both hands, and give it a firm shake. If you feel or hear anything shift, open it and add more cushioning. Then tilt it on each side. Nothing should move.
- No sound: the item is snug.
- Faint thump: add bubble to that side.
- Clear rattle: the box is too big or under-filled.
Should I write “Fragile” on the box?
It can’t hurt, but don’t count on it. Handlers move thousands of parcels an hour, and a label doesn’t stop a drop. Good packing does. Treat the marking as a bonus and let the cushioning do the real work.
Packing a fragile item well comes down to three things: a box that fits, bubble wrap that cushions, and tape that holds. Nothing more. A seller who gets those right ships fewer broken orders and skips the surcharges that come with oversized cartons.
The fit matters most. A shipping box with about 2 inches of room on every side protects the item and keeps billable weight in check. Too much space means extra void fill, a higher dimensional weight, and a package that rattles. Too little means no cushion at all.
Then comes the part sellers tend to rush.
The H-tape seal and the shake test take under a minute, yet they catch most failures before a carrier ever touches the package. Treat them as part of the pack job, not an afterthought.
So here’s the next step. Pull your three best-selling fragile items, measure each one, and add 4 inches to every dimension. Order a small case of shipping boxes in those sizes, pack one test unit per product, and drop it from waist height. If it survives, that’s your standard. Write it down and use it every time.


Recent Comments