
Before You Start
Set aside about 90 minutes. That’s enough to weigh your top sellers, run the math, and know whether switching pays off for your shop.
Skill level
- Beginner-friendly. If you can use a tape measure and type into a spreadsheet, you’re set. No formulas beyond multiply and divide.
What you need on hand
- A postal scale that reads to 0.1 oz. A kitchen scale works if it handles at least 10 lbs.
- A tape measure for box dimensions and folded garments.
- 30 days of order data from Shopify, Etsy, or your own site export. You want order counts per SKU and the carrier service used.
- Your shipping account rates for the weight tiers you actually ship at (pull them from your label software or the USPS rate chart).
- 3 to 5 sample mailers in 14×19, 19×24, and 24×24 if you can get them. You’ll test-pack real orders in Step 2.
- Your carrier’s DIM divisor (139 or 166). Check your account terms before you start.
Software
- Google Sheets or Excel.
- Your shipping label tool, for billed-weight history.
What you’ll have at the end
- A working spreadsheet comparing box and large poly mailer bag shipments, per SKU.
- A per-shipment savings figure, multiplied out for your monthly volume (100 to 1,000 orders).
- A clear pick of mailer size for hoodies, jackets, leggings, and multi-item orders.
- A short list of items that should stay in boxes.
- An order checklist covering mil thickness, case counts, opaque layers, and self-seal strips.
Quick tip: work from your top 10 SKUs only. They usually cover most of your volume, and the rest can wait.
A 12x10x6 box holding one hoodie gets billed as if it weighed more than it does. That’s the quiet leak in most apparel shipping budgets. You pay for air, and the carrier doesn’t care that the garment weighs 1.5 pounds.
Large poly mailer bags fix that, but only if you’ve run the numbers first. Guessing doesn’t cut it. A shop shipping 400 orders a month can lose real money by picking the wrong size or by switching items that never should’ve left a box.
The math isn’t hard (a postal scale, a tape measure, and a month of order history will do it). But it does need to be done in the right order. Skip a step and the savings you think you’re getting won’t show up on the carrier invoice.
So grab your scale. Start with what you ship today.
What You’ll Learn, What You Need, and How to Set Up Your Numbers
A boutique owner ships 400 hoodie orders a month in 12×15 boxes. Her carrier bills her for 3 lbs on a 1.4 lb hoodie. She never checked the math. That gap is what you’re about to measure.
This tutorial walks through comparing box weight against large poly mailer bags, order by order, so you see real savings instead of guesses.
Prerequisites: a postal scale, a tape measure, and 30 days of order data
Gather three things before you start:
- A postal scale that reads in ounces, accurate to at least 0.1 oz.
- A tape measure for packed length, width, and height.
- 30 days of order data exported from Shopify or Etsy, with item, billed weight, and postage paid.
Got a sample poly mailer on hand? Weigh it empty. A 2.5 mil 14×19 weighs roughly an ounce, while a comparable box can run 6 to 10 oz.
Setup: build a simple spreadsheet with the columns you’ll fill in
Keep it plain. One row per order, nothing fancy.
- Order number
- Product (hoodie, leggings, two-item bundle)
- Product weight (oz)
- Current packaging weight (oz)
- Packed dimensions (L x W x H)
- Billed weight, actual versus dimensional
- Postage paid
- Mailer weight (oz) and new packed dimensions
Fill the first seven columns from your export. The last column waits for your test packs. Sort by billed weight, and the orders hit hardest by dimensional pricing will jump out fast.
Step 1: Weigh and Measure Your Current Box Shipments
Guessing kills this calculation. Before anyone compares poly mailer bags against cartons, the baseline numbers have to be real, and they have to come from your packing bench, not from memory.
Record the actual weight, box dimensions, and packing materials for your top 10 SKUs
Pick the ten SKUs that make up most of your volume.
Pack each one exactly as a customer would receive it. Then log these figures in a spreadsheet:
- Packed weight in ounces, with tape, label, and packing slip included.
- Box dimensions (length x width x height) measured on the outside.
- Filler used, such as kraft paper, bubble, or tissue, and its weight.
- Empty box weight, since a 12x12x6 carton can add 6 to 8 ounces alone.
Do the same for a hoodie, a jacket, and a three-legging bundle. These are the items most likely to move into large poly mailers, so they matter most.
If this goes wrong: why your scale reading doesn’t match the carrier’s billed weight
Your scale says 2 lb. The invoice says 4 lb. Sound familiar? That gap is usually dimensional weight, where carriers bill on box size instead of what the box actually weighs. Divide length x width x height by 139 (or 166, depending on the service) and compare the result to your scale reading. The higher number wins.
Oversized cartons are the usual culprit. Water-resistant mailers have almost no dimensional footprint, so the billed weight stays close to the real weight.
Step 2: Pick the Right Large Poly Mailer Size for Hoodies, Jackets, Leggings, and Multi-Item Orders
Which size actually fits your heaviest order? Not your average one. Your heaviest. Size for that, and everything lighter slides in without a fight.
Bulky knits cause most of the trouble (a folded hoodie is thicker than it looks on the packing table). Standard sizes stop working fast, so large poly mailers become the default for anything beyond a tee. For jackets and stacked orders, big poly mailers keep you out of oversized boxes and the dimensional weight bills that come with them.
Match garments to sizes: 14×19 poly mailers, 19×24, and large poly mailers 24×24
- 14×19 (#6): one hoodie, two pairs of leggings, or a folded lightweight jacket. Ships 250 per case.
- 19×24 (#7): a puffer or fleece jacket, a hoodie plus joggers, or three to four folded tees.
- 24×24 (#8): big multi-item orders, bulky coats, or sets you’d rather not fold tight.
Aim for a 2.5 mil film at minimum. Thinner stuff splits at the seams when you cram it.
Tip: fold and test-pack three real orders before you buy a case
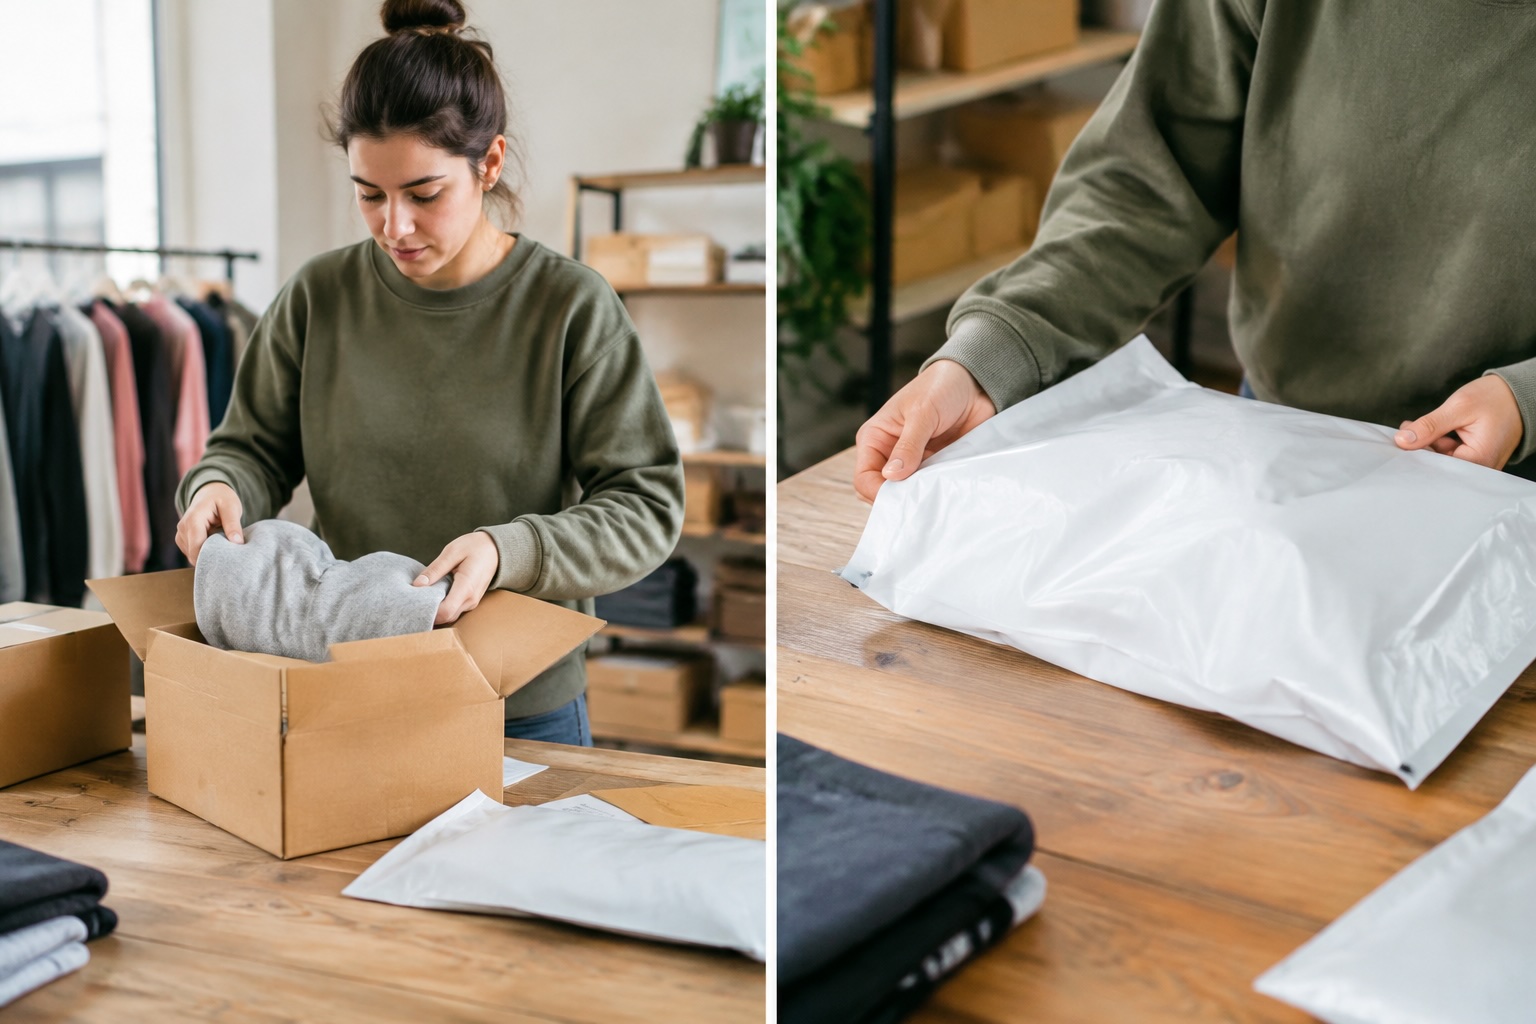
Pull three actual orders from last month. Fold each the way you’d ship it, then pack a sample mailer and seal it. Can you close the strip without straining? Is there at least an inch of slack?
If it bulges, go up one size. Skip the guesswork.
Step 3: Run the Dimensional Weight Math and Compare Box vs. Poly Mailer
A 12x10x6 box holds 720 cubic inches, and carriers bill that volume as if it weighed 4.3 to 5.2 pounds. Your hoodie weighs 1.5. That gap is the whole story.
Worked example: a 12x10x6 box vs. a 14×19 poly mailer, including the DIM divisor (139 or 166)
Box: 12 x 10 x 6 = 720. Divide by 166, and you get 4.34, so it bills at 5 lbs. Use 139, and you get 5.18, which bills at 6 lbs. Now the mailer. Stuffed with a hoodie, a 14×19 bag sits about 14 x 19 x 2 = 532 cubic inches. That’s 3.2 lbs at 166, but the real weight (1.6 lbs with packaging) often lands it in a lower weight tier or a flat-rate-style price bracket. Measure the filled bag, not the flat one. Many sellers skip that step.
Calculate the per-shipment savings on postage, filler, and tape, and multiply by your monthly order count (100 to 1,000)
- Price the box shipment and the mailer shipment on your carrier’s rate table.
- Add the box’s filler and tape. Mailers need neither.
- Subtract, then multiply.
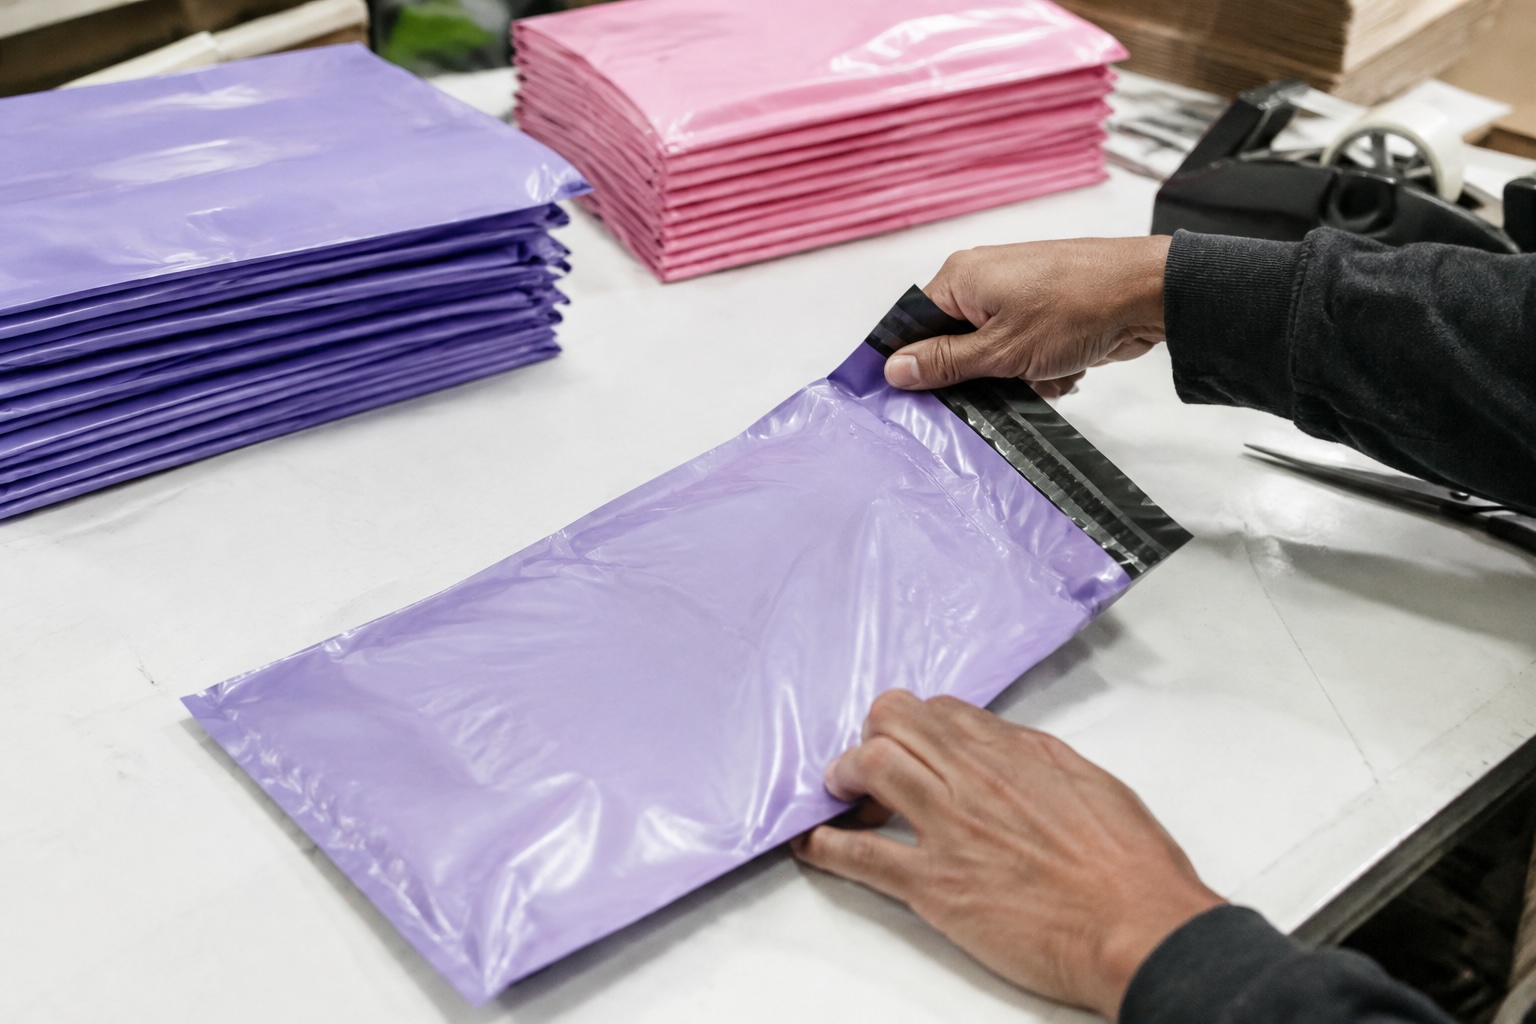
Say you save $2.10 on postage and $0.35 on filler and tape. That’s $2.45 per order, or $245 a month at 100 orders and $2,450 at 1,000. Colored poly mailers also double as branding, so you skip printed inserts. Browse Colored poly mailers if you want that.
If this goes wrong: when a poly mailer is not the right call (fragile items, thick puffer coats)
Don’t force it. Glass, ceramics, and rigid items crush in a bag. Thick puffer coats can stretch seams and push the filled bag past the size you priced. Try compressing the coat first. If it still bulges, step up to a 24×24 or go back to a box. Colorful shipping bags look great, but a colorful shipping bags order won’t save money if items arrive damaged.
Step 4: Check Your Results and Plan the Switch: Mil Thickness, Case Counts, and Where to Order
Confirm the expected result: lower billed weight, lower storage footprint, lower packaging cost per order
Thicker poly isn’t always better. Plenty of sellers overbuy 3 mil film for sweaters and leggings, then wonder why their packaging cost per order didn’t drop. Check your math against three numbers: billed weight, storage footprint, and cost per shipment.
A hoodie that ships in a 14×19 mailer instead of a 14x12x4 box usually drops out of dimensional weight pricing altogether. Billed weight then equals actual weight. Storage shrinks too, since 250 flat mailers take up less shelf than 25 folded boxes. Realistically, that’s a whole shelf back in a garage setup.
Mil thickness, opaque layers, and self-seal strips: what to check before ordering extra-large poly mailer bags in bulk
Order a sample pack first. Always. Then run this checklist:
- Mil thickness: 2.5 mil handles most clothing. Go higher only for jackets with zippers or snaps.
- Opaque inner layer: Confirms nobody can see the item through the film.
- Self-seal strip: Press it, tear it, press it again. It should grab on the first try.
- Case count: Larger sizes like 19×24 and 24×24 typically ship 250 per case, so one case covers about a month at 250 orders.
Browse the full range of poly bags to compare sizes, then match each product’s folded dimensions to your largest SKU.
Recap of what you built and next tutorials: tracking damage rates, adding custom printed logo mailers, and setting reorder points
You now have a billed-weight comparison, a storage estimate, and a per-order cost. Next up: tracking damage rates for 30 days, pricing out custom printed logo mailers (usually 500-1,000 minimum), and setting a reorder point at two weeks of stock.
Recap & Next Steps
You now have a working spreadsheet and a repeatable method. Weigh the current box. Measure it. Run the DIM math with your carrier’s divisor (139 or 166). Compare it against a 14×19, 19×24, or 24×24 poly mailer. Then multiply the per-order savings by your monthly count.
Quick checklist before you order a case:
- Top 10 SKUs logged with actual weight, box size, filler, and tape.
- Three real orders test-packed in the mailer size you picked.
- Billed weight compared for each SKU, with fragile items and thick puffer coats flagged as box-only.
- Mil thickness, opaque layer, and self-seal strip confirmed on the spec sheet.
Don’t skip the test-pack. A spreadsheet can say a hoodie fits a 14×19 mailer, but the garment decides.
Next steps worth your time
- Track damage rates for 30 days. Log every claim and return on mailer shipments next to your old box numbers. If damage stays flat, the savings are real.
- Set reorder points. Mailers store flat, so count your daily use, add your lead time, and reorder when you hit that number. Buy by the case so you never run dry mid-week.
- Try custom printed logo mailers. Once your sizes are locked in, a printed or colored large poly mailer turns plain packaging into branding. Most custom runs start around 500 to 1,000 units, so settle on one size first.
- Re-run the math each quarter. Carrier rates and your product mix both change. Ten minutes in the spreadsheet keeps the numbers honest.
Questions about sizing or case counts? The Boxery offers live chat and expert help picking the right large poly mailer bags, and mailers ship free.
The math rarely lies. A shop that weighs its top ten SKUs, measures every box, and compares billed weight against a flat garment in a 14×19 or 19×24 mailer will see where the money leaks. Most leaks sit in air. A hoodie in a 12x10x6 box gets billed for space it never used, and that gap repeats on every order, every month.
Poly mailers close that gap. They also shrink storage needs, cut filler — tape out of the pack-out, and speed up the packing bench. But the switch only pays off when the size fits the garment, and the film holds up in transit. Test-pack real orders first. Check mil thickness, the opaque layer, and the seal strip before committing to a case. Keep thick puffer coats and fragile goods in boxes.
Print your spreadsheet today, fill in 30 days of order data, and run the dimensional weight formula on your three heaviest-volume SKUs. Then order one sample case of large poly mailer bags from The Boxery, ship ten live orders in them, and compare the billed weights line by line.


Recent Comments